
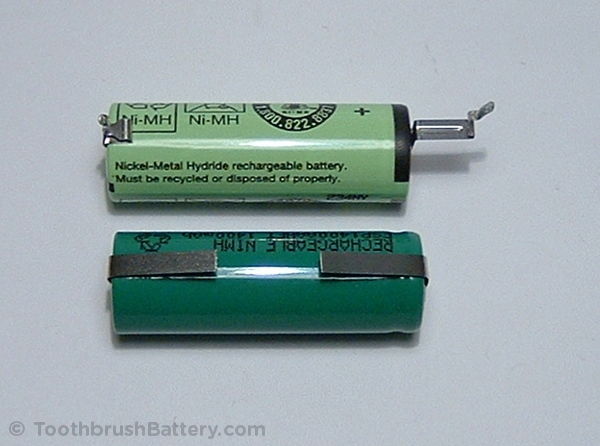
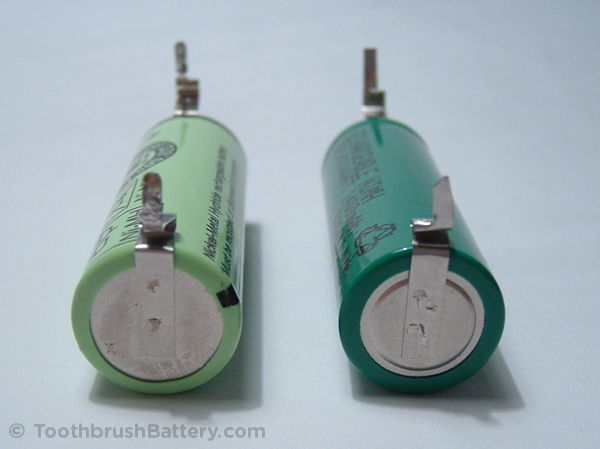
Continuing on from the first page of battery replacement instructions for the Braun Oral-B Professional Care Type 3754 & 3756, start to shape the solder tag on the positive end of the 42mm long replacement battery. Please support us in writing these guides by buying your 42mm replacement battery from us here.

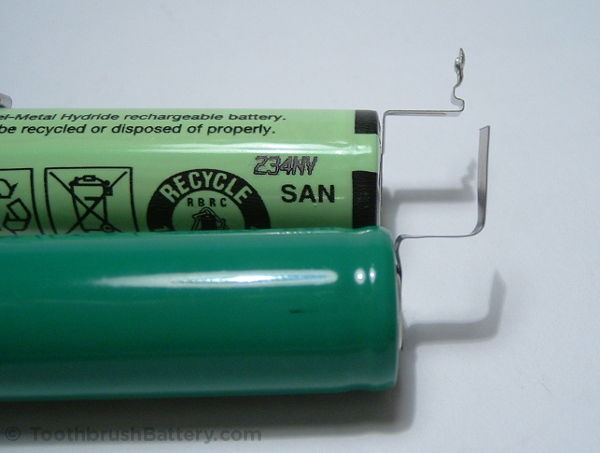
It’s not essential that the extra ripple is put into the tag at this end as there is sufficient flexibility in the tag to absorb any vibration. Start to shape the solder tag for the negative terminal, bending it over the tip of the screwdriver to get tight bends.
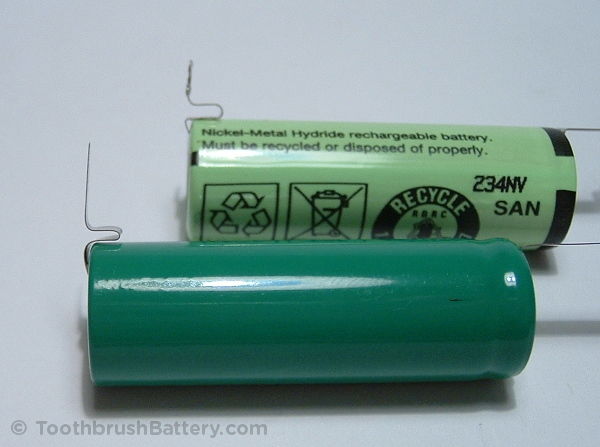
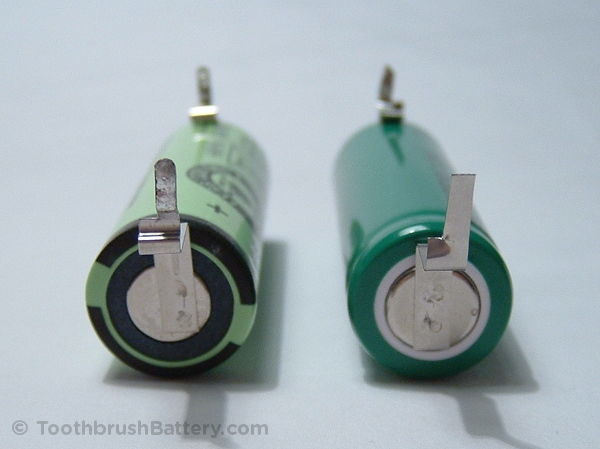
Trim it with scissors to the same height as the original.
Very carefully start to narrow down the width of the negative terminal solder tag with the scissors by first snipping into the tag from the side. Don’t try to cut into it half way in one go, just try to cut a quarter of the way in from the side and it will tear to half way. Careful not to cut right through! Then cut down from the top end to remove the piece. You will see (below) the top left piece of the solder tag removed below, which is easier then trying to trim it from both sides and it will still line up with the circuit board.
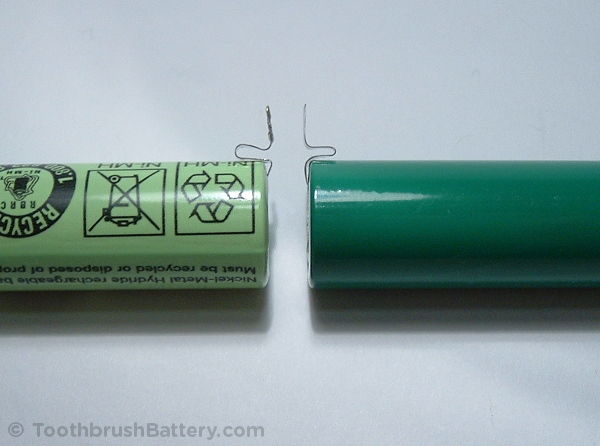
Trim the positive solder tag to match the original in the same way.
Test fit the battery in the handle with the positive end nearest the motor, then slide the circuit board in to make sure the tags line up.

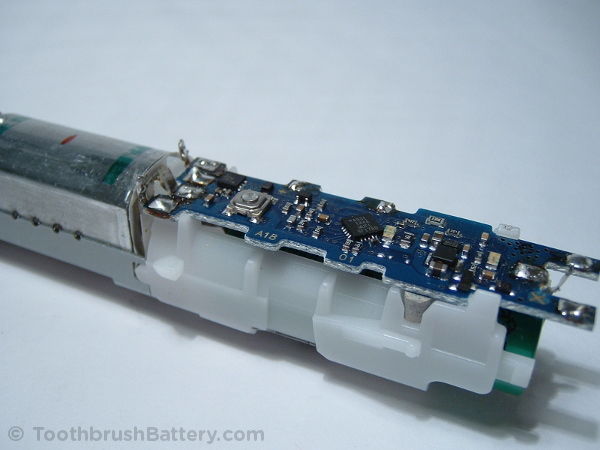
Once you’re happy with the aligment click below to move on to: