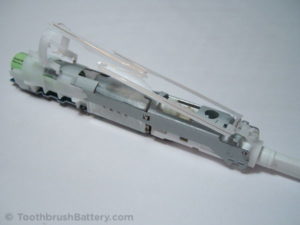
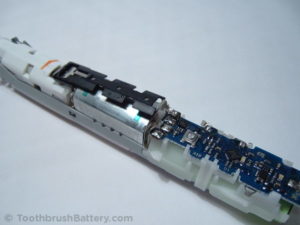
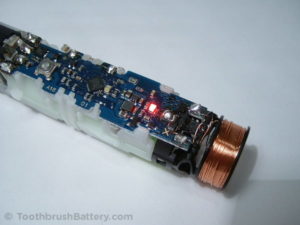
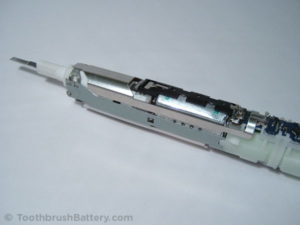
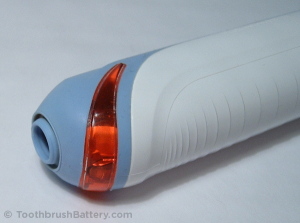
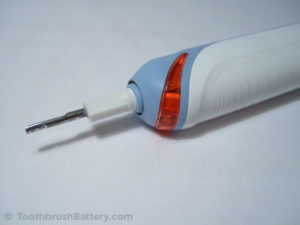
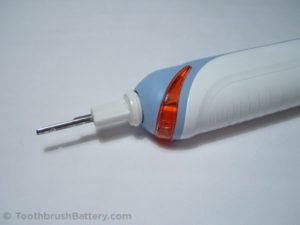
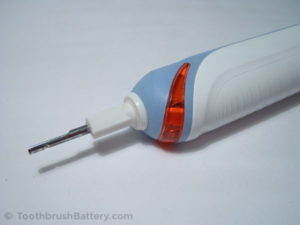
For the final stage, once you’re happy with the position of the battery solder tags and have slid the circuit board into place you can now start reassembling the handle. Start off with clipping the pressure warning light and wire carrier back on.
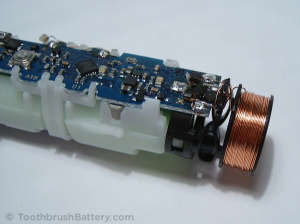
Clip the pressure sensing switch and charging coil back into place.
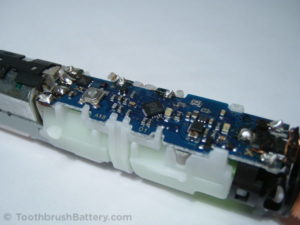
Resolder all the terminals including the pressure sensing switch, the motor, the pressure warning light, the charging coil and, finally, the battery. Once the battery is resoldered you might find that the red light starts to flash on its own accord or when the power button on the circuit board is pressed. This is a good sign but don’t worry if it doesn’t light. Just check your soldering for bridges or dry joints and wait until later when we put the toothbrush on charge.
Clip the power switch lever back into place and then the whole assembly can be slid back inside the handle casing.
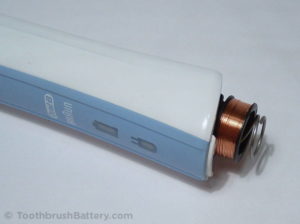
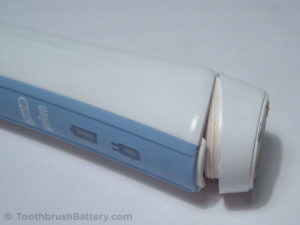
Insert the spring back into the charging coil and refit the base, clipping the rear tab in place first.
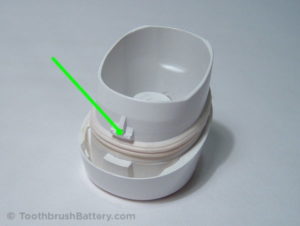
If you find that the base won’t stay clipped in firmly then it probably means that, due to Braun’s design, part of the front clip broke away when the brush handle was initially opened (arrowed below). After testing that the brush charges and runs later on this can be remedied by applying a small drop of glue to the clip then refitting the base and temporarily taping it shut until the glue sets. Don’t be tempted to apply too much glue because in a couple of years you might need to open it up again!
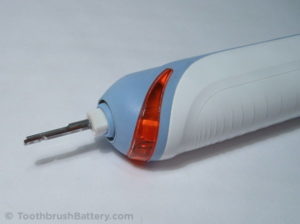
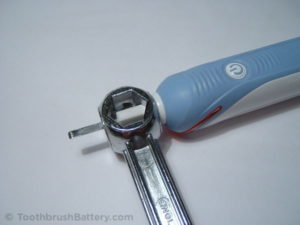
Replace the retaining ring around the top of the shaft. If it is difficult to fully press into place you can heat the ring in hot water to soften it before fitting, or apply some food-safe lubricant. You can also stand the handle on a firm surface then press the ring on with an old brush-head, a 10mm or 11mm ring spanner, or similar.
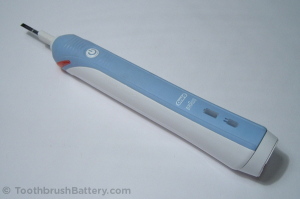
You should now have a fully reassembled Professional Care toothbrush! Put the brush on to charge for a full 24 hours and check that the charging light starts to flash. Please recycle your old battery either at a local civic amenity or a supermarket collection point.
Please leave any questions, tips or comments about this guide back on the first page here.
Back to:
First page (disassembly)
Replace with original size battery
Modify and replace with a longer battery
